 Zane Bloser mini-lesson on Voice from Six Traits Zane Bloser mini-lesson on Voice from Six Traits have taught students in sixth grade through college, and the Six Traits of Writing* adapts to every level. This semester I am teaching Comp 1 and I found a great resource for teachers who use Six Traits in Zane Bloser. I have used their PowerPoints in the past, and they are adaptable so I made them more college friendly by strengthening the examples and using text sets from They Say, I Say. I have no affiliation with the company, I just like their materials and recommend them to other teachers. The Zane Bloser presentations are loveable because:
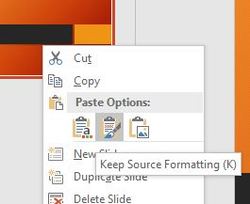 How to paste a PowerPoint slide and keep the original theme. How to paste a PowerPoint slide and keep the original theme. It is actually tricky to highlight in PowerPoint, so it is nice to have a pre-made presentation. In order for the highlighting to stay consistent, however, I had to copy and paste the theme into the current presentation. To do this, copy the original slide, and then move into your new presentation. Right-click on the slide right before you the place that you want to insert your new slide, and choose the middle paste button that says "Keep Source Formatting". * I know it is more precise to say 6+1 Traits, but I am used to the old school wording. Also, writing out numbers feels right.
0 Comments
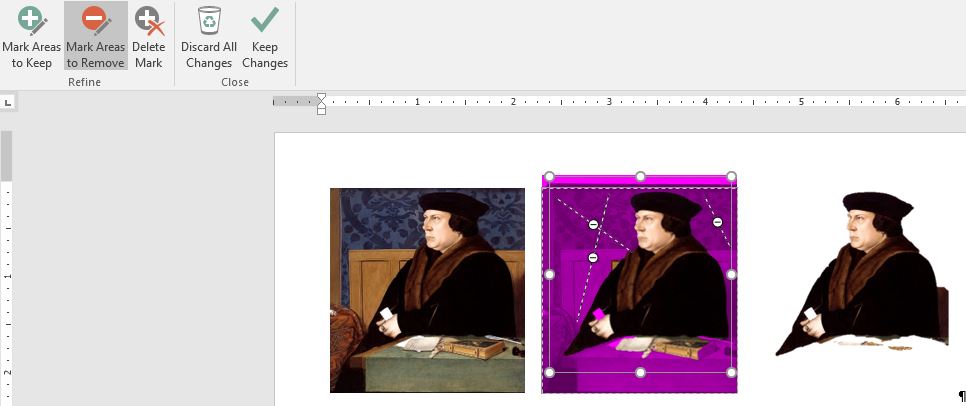
Recently I was teaching a Microsoft Publisher 2013 class, and we talked about adding and editing images. The tricky thing about working with pictures in Publisher is that even though you can insert images with a transparent background, you can't remove the background yourself. To do this, head over to Microsoft Word. Use the same techniques to insert an image that you use in Publisher: 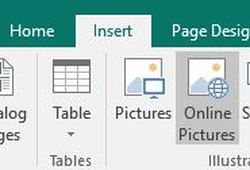 Microsoft Publisher 2016 Microsoft Publisher 2016 After you click on the Insert tab, choose either Pictures or Online Pictures to add your picture into your publication (Publisher) or document (Word). Once you have inserted your image, watch for the contextual toolbar to appear that allows you to edit your pictures. 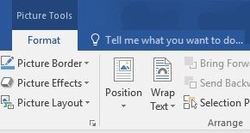 Microsoft Word 2016 Microsoft Word 2016 The contextual toolbar will say Pictures Tools above the Format tab. When you click on that new toolbar, you will have a lot of additional tools to edit, adjust, and polish your pictures. We want to look on the far left side of the screen in the Adjust toolbox where we can remove the background. 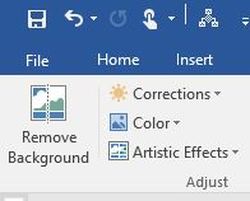 Microsoft Word 2016 Microsoft Word 2016 When you click on Remove Background, you will notice part of your picture turns violet. This is the section of your image that will be erased. If you do not want that part included, or if you want to include other areas, use the "Mark Areas to Keep" and "Mark Areas to Remove" tools to adjust the purple shading. When you are done, press Keep Changes. If it did not turn out the way you expected, remember that CRTL + Z will undo your changes and you can start again. Also, you may need to do some clean-up through cropping or in Microsoft Paint. Once you are done with the background removal, right click and choose copy, then paste the image into your publication in Publisher.
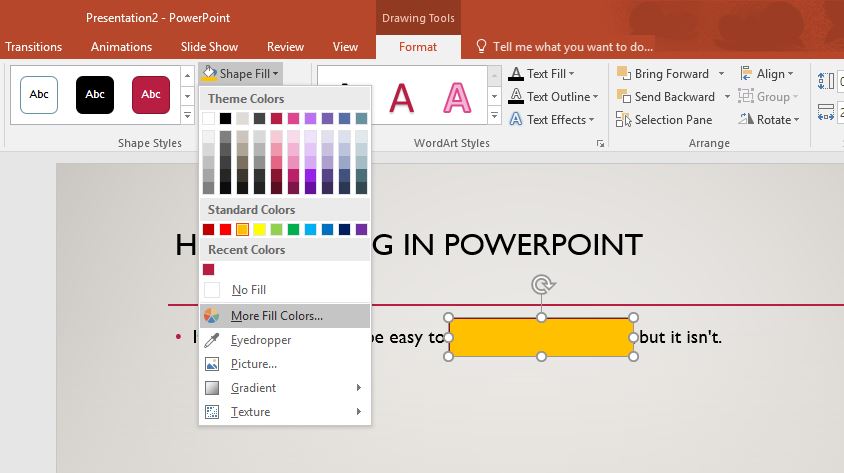
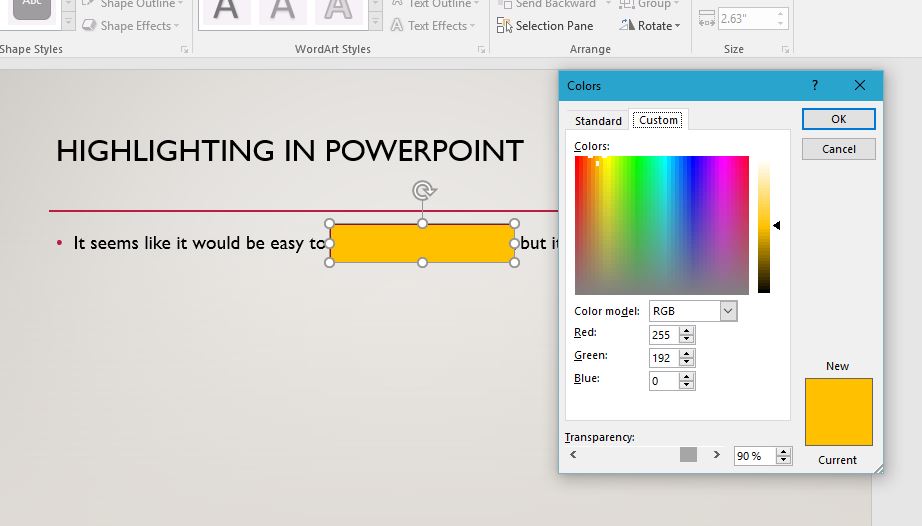
You can copy and paste between Microsoft Office products, so making changes in Word and pasting them into Publisher is a good solution to removing the background until Microsoft adds this features into a future version of the software. It seems like it would be easy to highlight in PowerPoint, but it isn't. There isn't the standard highlighter tool that is in Microsoft Word. 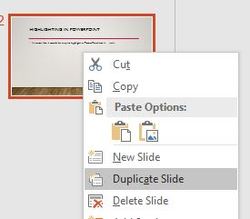 Duplicating slides in PowerPoint 2016 Duplicating slides in PowerPoint 2016 The easiest way to do this is: 1. Create your slide. 2. Copy the PowerPoint slide by right-clicking on the navigation pane and choosing "duplicate".) The new, copied slide will immediately appear under the slide you just right-clicked. 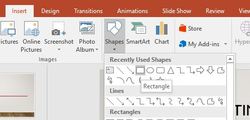 Insert a rectangle in PowerPoint 2016 Insert a rectangle in PowerPoint 2016 3. Go to the Insert table and choose shapes. When you press the dropdown menu, you will see the rectangle shape. You are going to draw this over the words you want to highlight in the duplicated slide. After you draw the rectangle over the word, the contextual toolbar for drawing will appear. We will use this to make the highlighting translucent. 4. In the Drawing Tools contextual toolbar, choose Shape Fill and pick the color for your highlighting. At first it will cover the word, but don't worry. We will change that in a moment. 5. Choose More Fill Colors. At the bottom of the Colors dialogue box, there is a slider to choose the Transparency option to 60% (or type in the box). This may need to be adjusted depending on your screen and how dark your classroom is; 90% is the lightest I think people can see. You won't see the changes until you press OK. Once you left-click on OK, you will see the word highlighted on your screen, and when you move from the previous slide to the highlighted slide, it will have the effect of "highlighting" on the screen.
|
AuthorAlly Sharp is a teacher, writer and editor, and technology trainer. Archives
December 2016
Categories
All
|

 RSS Feed